Smart Text Field
Text Field
A ‘Text field’ allows the user to input small text information (e.g. Name, City, Email, Phone number etc.) in the template. Such small variables are found in most forms.
Create a Text field
To create a text field:
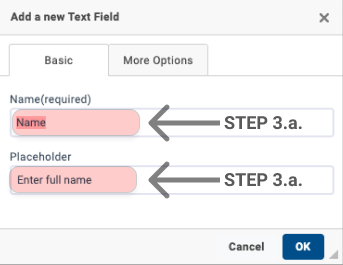
Click on the ‘Text field’ button in the top-most row of the Editing Tools.
In the name field, enter what will appear when filling the template.
In the placeholder field, enter what will appear inside the text field as reference text.


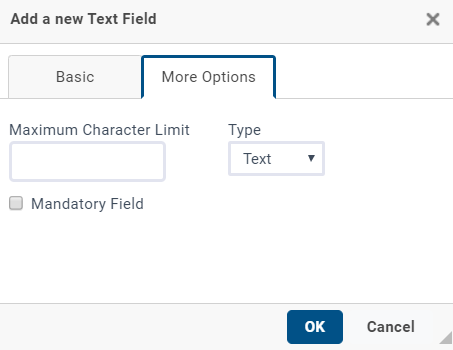
More Options
Maximum Character Limit: You can set maximum character limit for the user
Text: You can place constraints on the type of input that a user can make.
Selecting ‘text’ from the drop-down menu will constrain the user to only entering text.
Selecting ‘number’ from the drop-down menu will constrain the user to only entering numerical values.
Edit a Text field
To change the properties of an already created Text box:
Right-click on the text box created in the Display Area
Click on ‘text box’ properties from the list
After the Text field properties pop-up window opens
To change name: Enter the new name
To change placeholder: Enter the new placeholder text
Click Ok

Important things to note
The text field automatically resizes to fit the length of the content entered by the user
Preview and final output
Below is how the text fields will look in the drafting and final filling stage respectively:
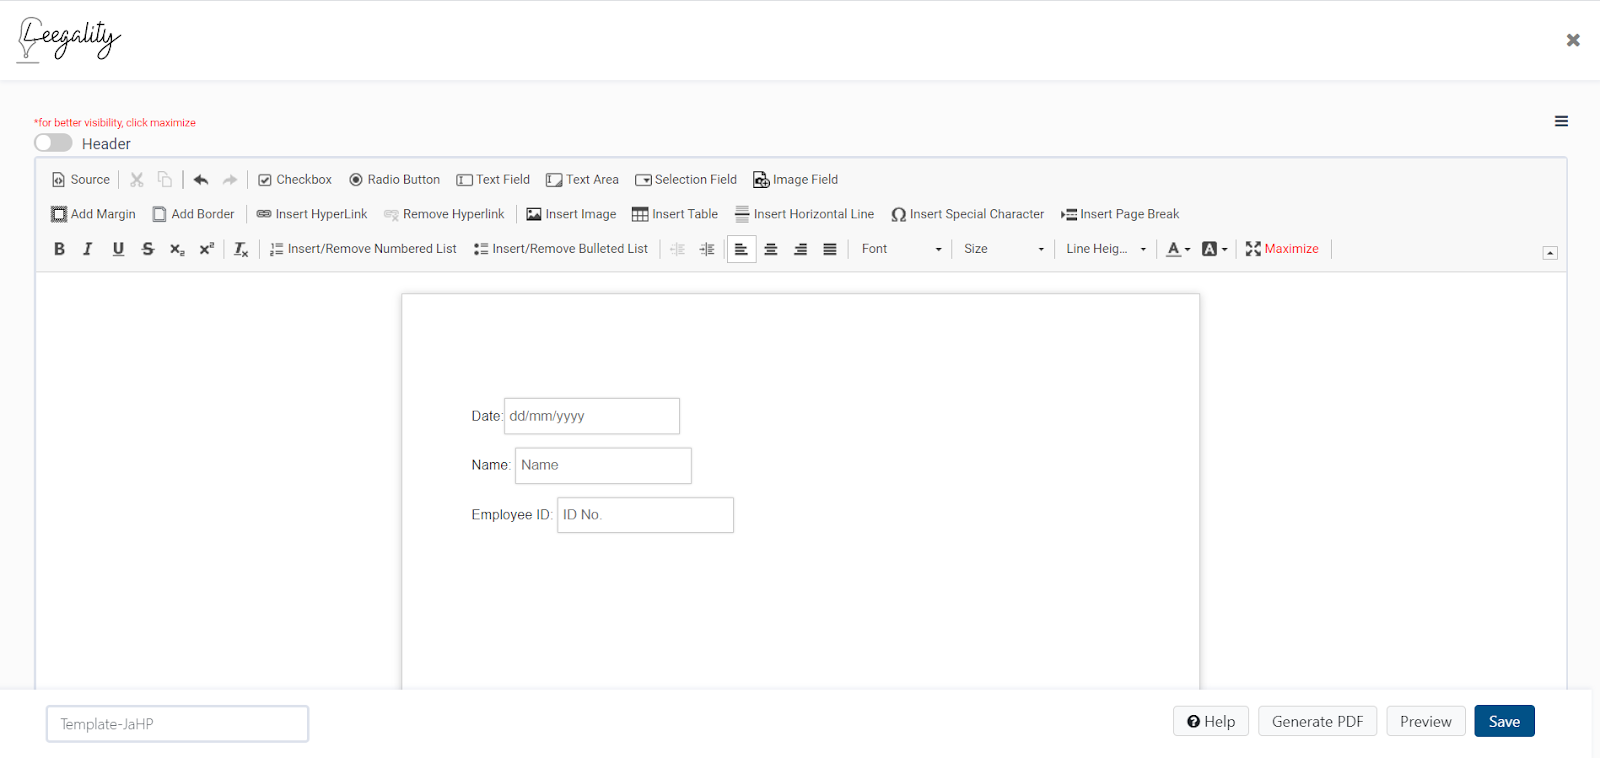

A text field, when empty, for appearances purpose takes up a fixed amount of space in the document. After the user input, the length of the field is automatically resized to the according to the length of the input.
Text Area
A ‘Text Area’ field allows the user to input larger text information (e.g. Address, Comemnts etc.) in the template.
Create a Text Area
To create a text area:
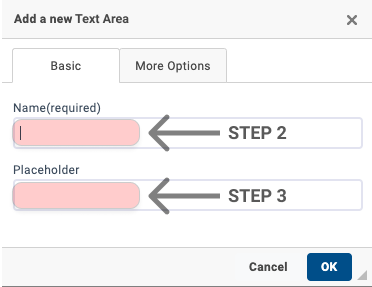
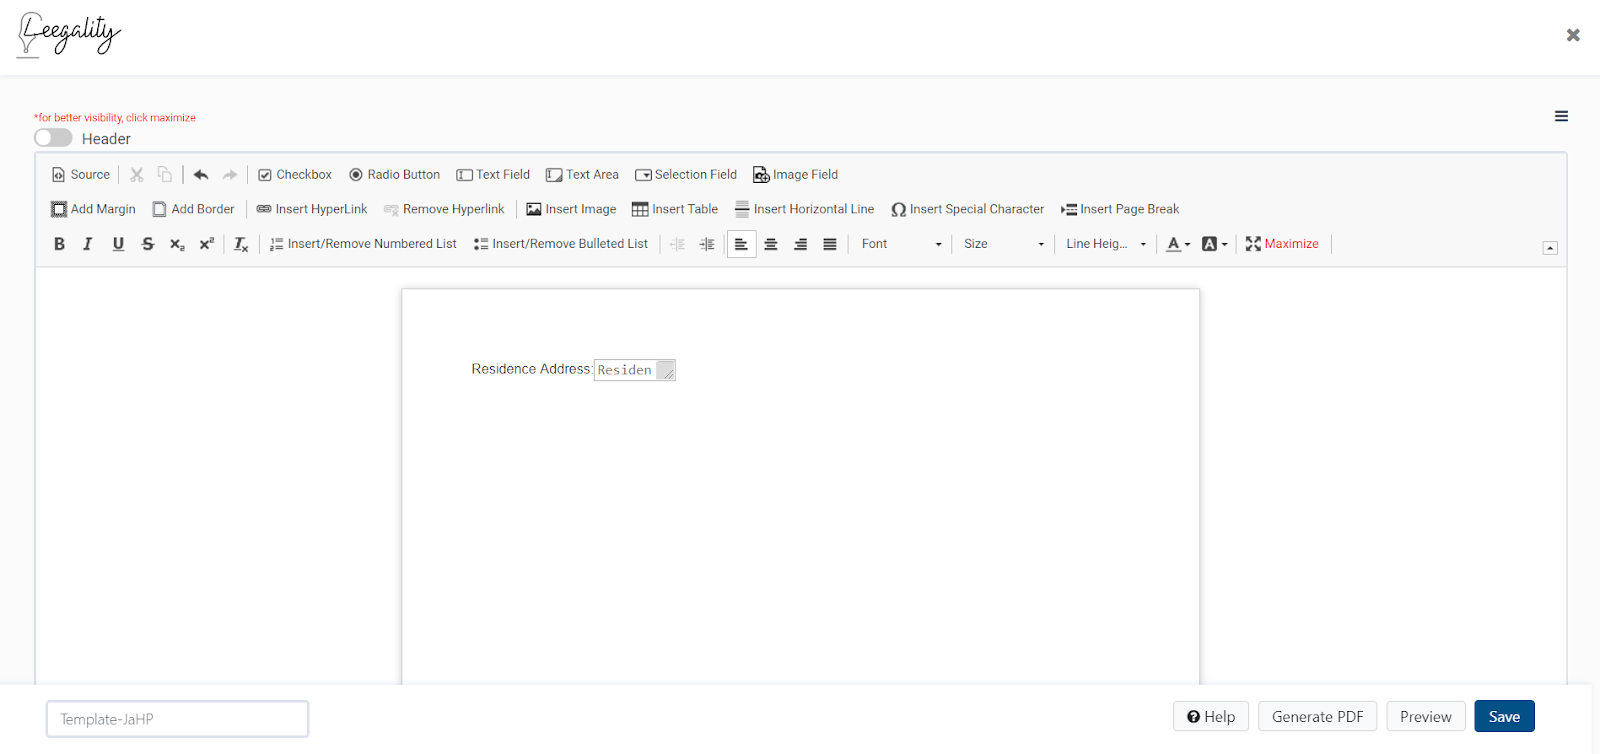
Click on the ‘Text Area’ button in the top-most row of the Editing Tools.
In the name field, enter what will appear when filling the template.
In the placeholder field, enter what will appear inside the text field as reference text.
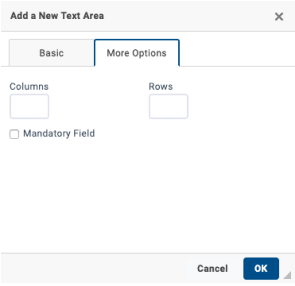
More Options
Columns and rows tabs allow you to change the size of the text area box that is placed in the template creator, as shown below.
Preview and final output
This is how a default text area appears in the draft stage:
This is how a text area with 8 x Columns and 1 x Row size appears in the draft stage.
This is purely for visual purposes and has no effect on how the text appears in the text area when the document is created.
Below is how the text fields will look in the drafting and final filling stage respectively:

Linked Text Fields
Linked Text Field helps to reduce the effort by reflecting the same text in other linked fields.
An example use-case for Linked Fields is an account creation form in a bank. In such a form, the user is very likely to be asked to fill in the following details repeatedly in the document:
Date
Place
Name
Address
Linked fields allow you to duplicate the same information in all the linked fields by just filling it in 1 of X such text fields.
Linking one or more fields together
Select either a Small or a Large Text box from the “Dynamic Fields row”.
To create a group linked field for the first time in the template,
Select New Group from the Select Group dropdown.
Enter the Group name
Enter the “Name” of this specific text field.
Enter any “Placeholder” text for the user’s reference.
Click on “OK”
To link a new field
Select a new small or a large textbox
Select the desired group name from the drop-down.
This will automatically fill the “Group Name” field.Configure the Name and placeholder for the text field
Press “OK”
Your fields are now linked!
You can now fill both fields by filling in either one of them.

Note 1: “Name and Placeholder” are field-specific configurations and can vary between linked fields.
Note 2: You can link the “n” number of text fields together.
You can create a new group by simply selecting the “New Group” option from the “Select Group” dropdown and create a new set of linked fields.

Preview of Group Field
Related Articles
Smart User Liveliness
Smart User Liveliness ensures that the signatory is actively present during the eSigning process using AI-based facial recognition. It detects and rejects spoofing attempts such as photos and recorded videos. By analysing facial cues and other ...Image Field
The insert image button allows the user to upload an image (e.g., passport photo, ID proof) which will be integrated in the document. Create an Image field To create an image field: Click on the ‘Image field’ button in the top-most row of the ...Signature Certificate Verification Settings
Signature certificate verification parameters differ depending on the type of digital signature that has been selected that has to be matched with the signer's digital signature certificate while signing the document. Verification parameter ...Template Engine
USING TEMPLATES IN LEEGALITY Introduction Templates is a powerful feature that allows users to create documents that can be used for signatures repeatedly. An example use-case of templates is a bank account creation form, which gets created once, but ...Profile
Change your profile name Edit your name by entering the desired name in the 'Name' field. The Profile Name is the name that will be displayed in any Invitation to eSign that you send, either on email or on text message Set/Change your profile picture ...