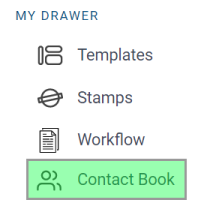
Contact Book
Activating the Contact Book feature:
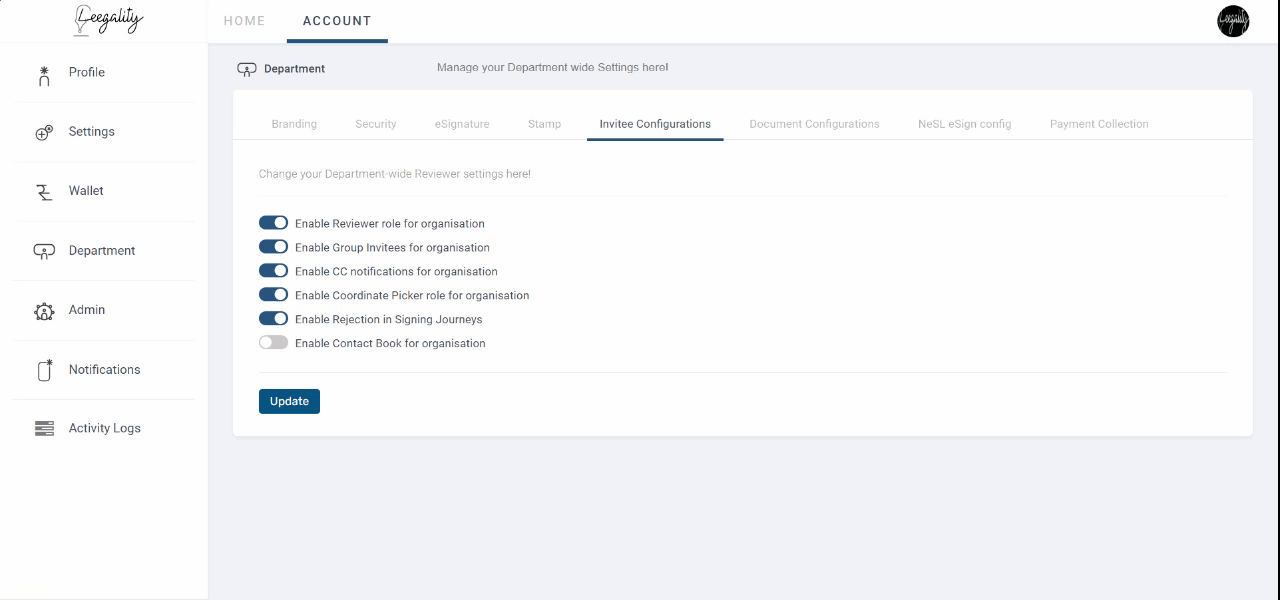
Step 1: Click on the “Account” option then go into the ‘Department’ tab and then click on the ‘Invitee configurations’

Step 2: Switch on the ‘Enable Contact Book for organisation’ toggle.
Saving information of invitee in Contact Book

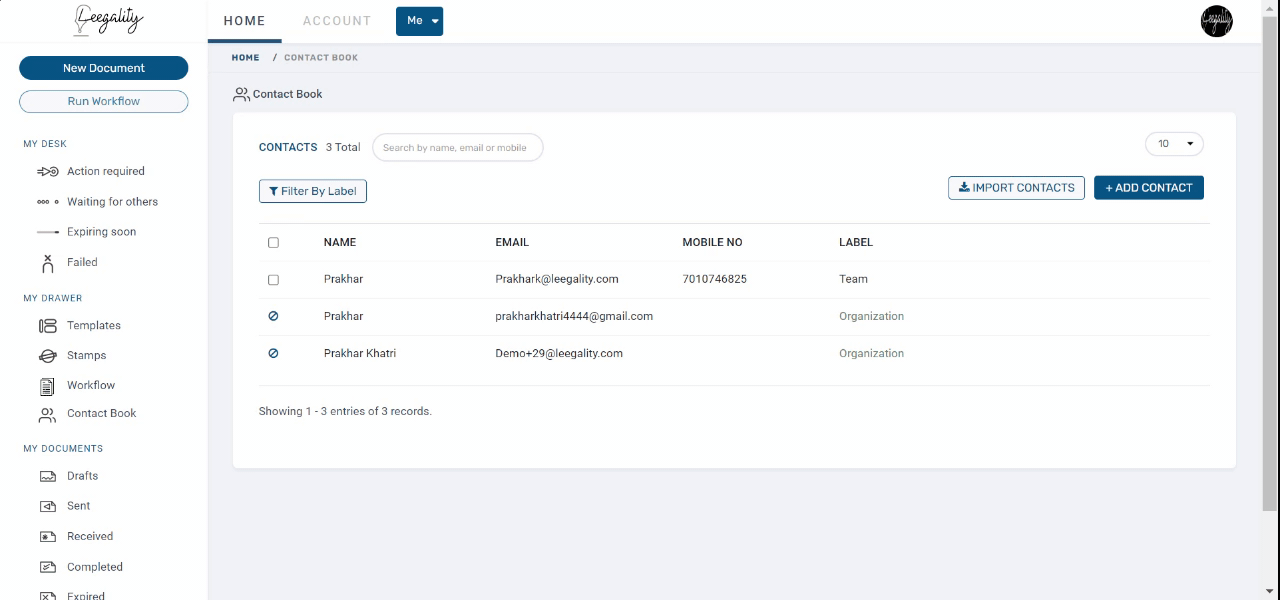
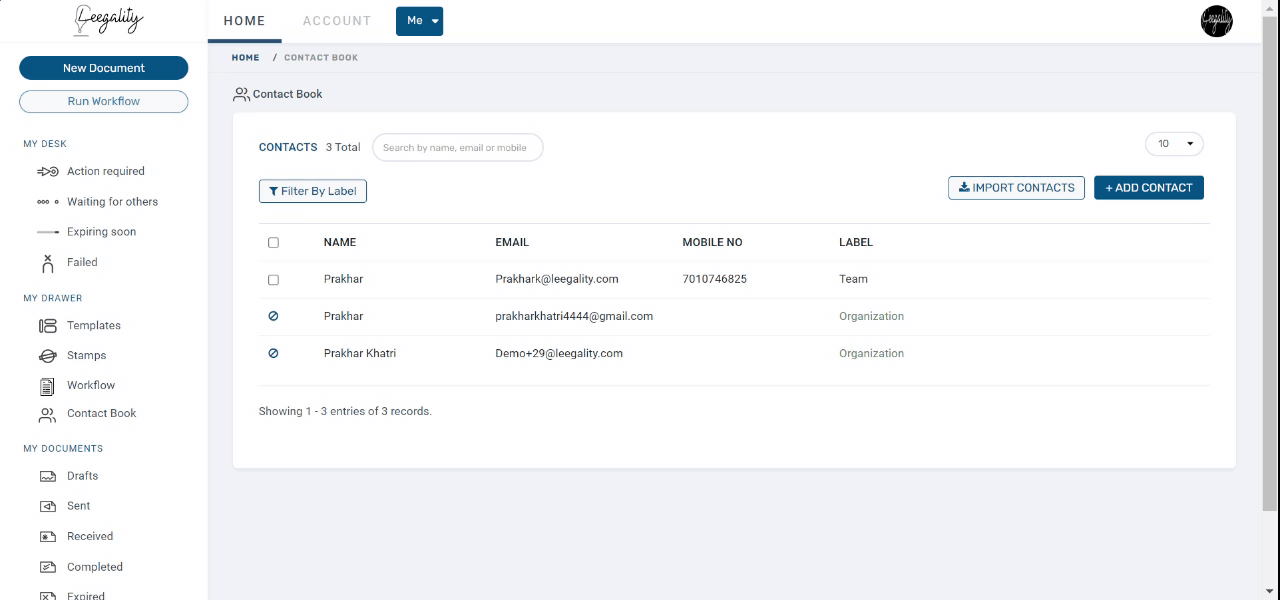
Note: Contacts of all users in your Leegality account are created and added to your contact book automatically which cannot be edited or deleted. Also, these contacts have the label “Organisation”.
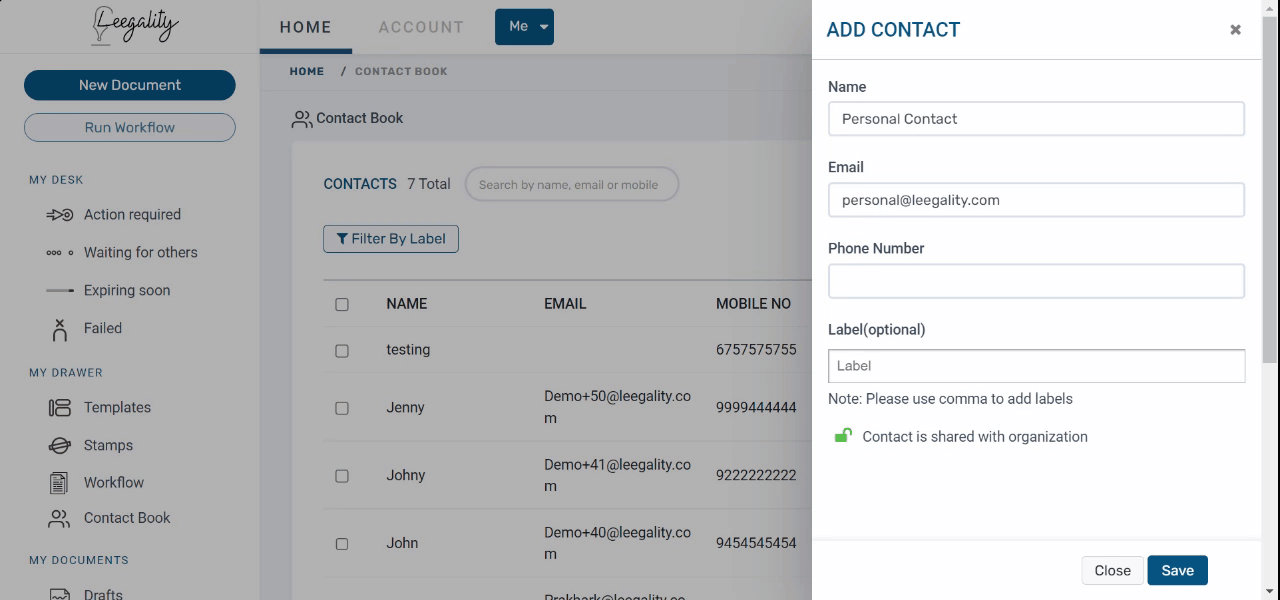
Manually adding contacts

Step 2: Under “Add Contact” enter the “name, email address, phone number, and label”.

Note: Label can be used as a unique identifier such as team name or position for the invitee.
Note: Multiple labels can be added by separating them with commas.

All contacts can be filtered out on the basis of the Label name.
Bulk adding contacts
Step 1: Click on “Import Contacts” and download the reference file
Please view the Sample/reference file here.

Step 2: Fill the excel with the required details and upload the file.

Using Contact book in the new document flow
Step 1: Once the document is created, on the invitee page, enter the keyword in the invitee name or email ID, or phone number field.

Note: If email ID and phone number both are filled in the contact book, both the contact details will be populated while configuring the invitee.

Related Articles
Mask Contact Details
Mask Contact Details is a feature designed to protect the contact details of invitees (signers and reviewers). When enabled, this feature ensures that an invitee cannot view the contact details (name, phone number, and email address) of any invitee ...Activity Logs
The “Activity Logs” are comprehensive logs recording all account activity on Leegality. The logs can be filtered as per your requirement with the appropriate date range provided at the top of the page. Steps to reach Activity Logs Click on the ...Notification
How to Reach Press the Account button at the top of your homepage Go to the “Notifications” tab in the left menu The notifications tab lets you control the various notifications that are sent by Leegality in terms of allowing you to:- Turn a ...Completing an Invitation to eSign
Finalize Once you have configured the invitee settings, click on the blue “Next” button. This takes you to the final step of the invitation journey- “Finalize”. In case a stamp paper was attached it will appear as the first page of the document. Set ...NeSL Aadhaar Validation
Note: The availability of this feature depends on your subscription plan. NeSL Aadhaar validation enables the sender to verify a NeSL invitee's details before they eSign a document. The details provided by the sender in the form (or Excel) during the ...