Steps for Creating Signer ID using Aadhaar XML
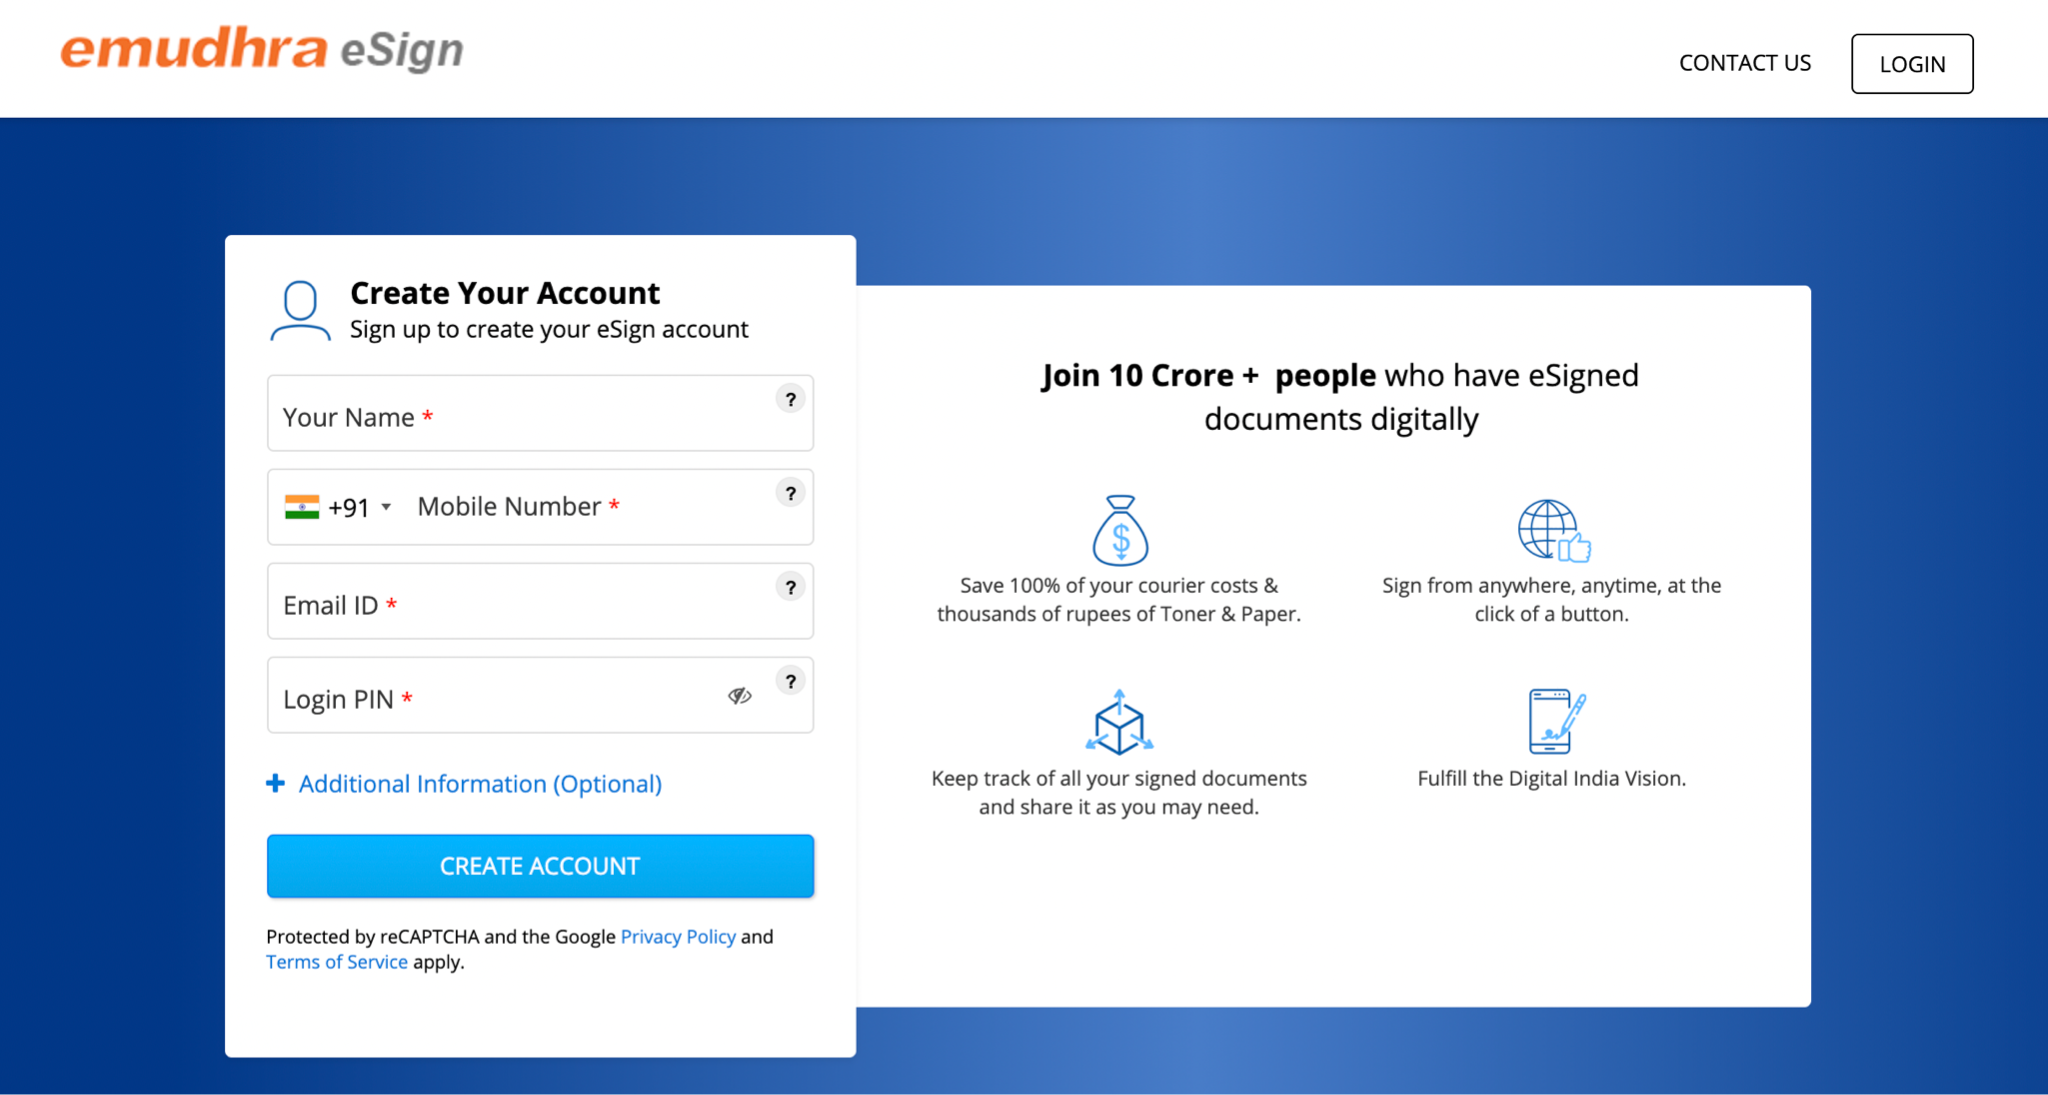
Enter your Full Name, Mobile Number, Email ID, and a 6 digit PIN. Note the PIN in a secure manner, as it will be required at a later stage for using the SignerID.
After entering the above details, click on “Create Account”.
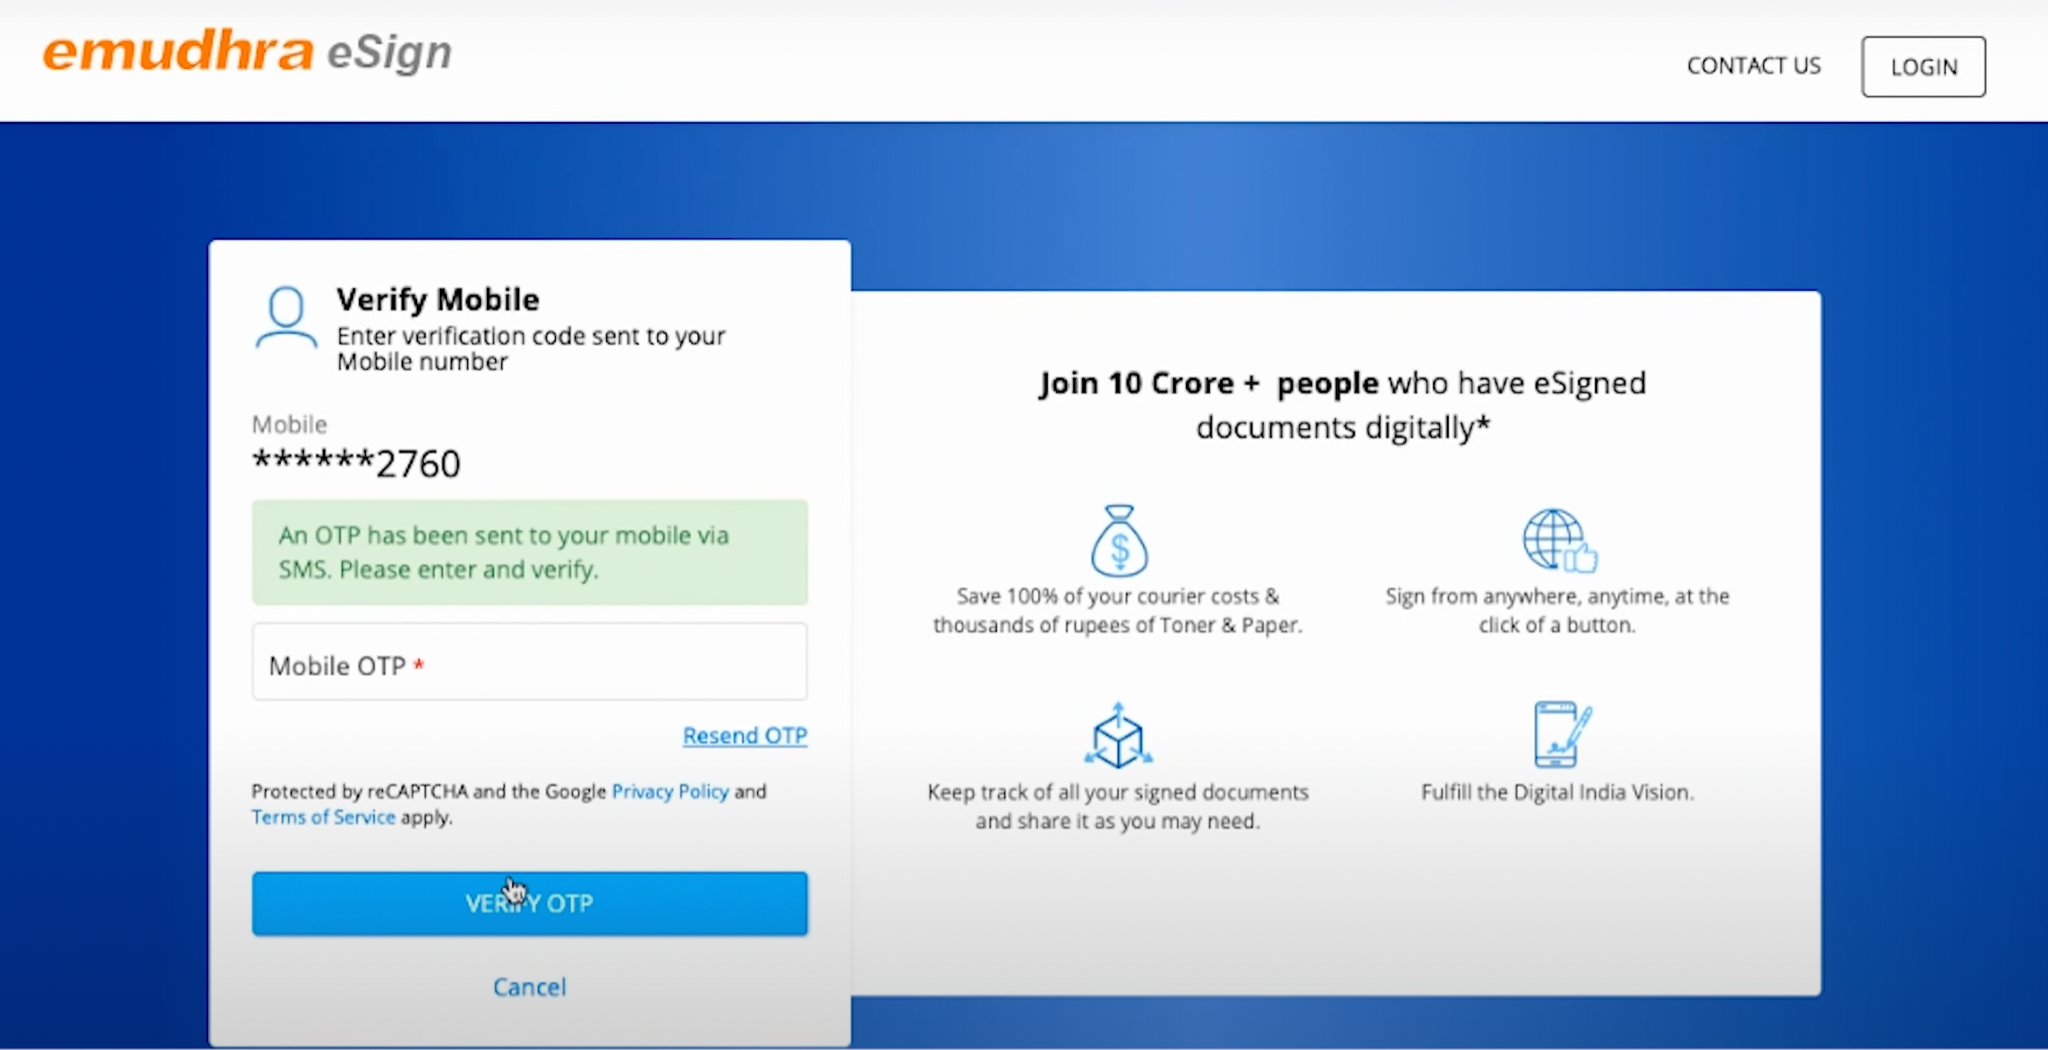
On the next screen (screenshot above), enter the OTP sent to the mobile number entered in Step 2 and click on “Verify OTP”.
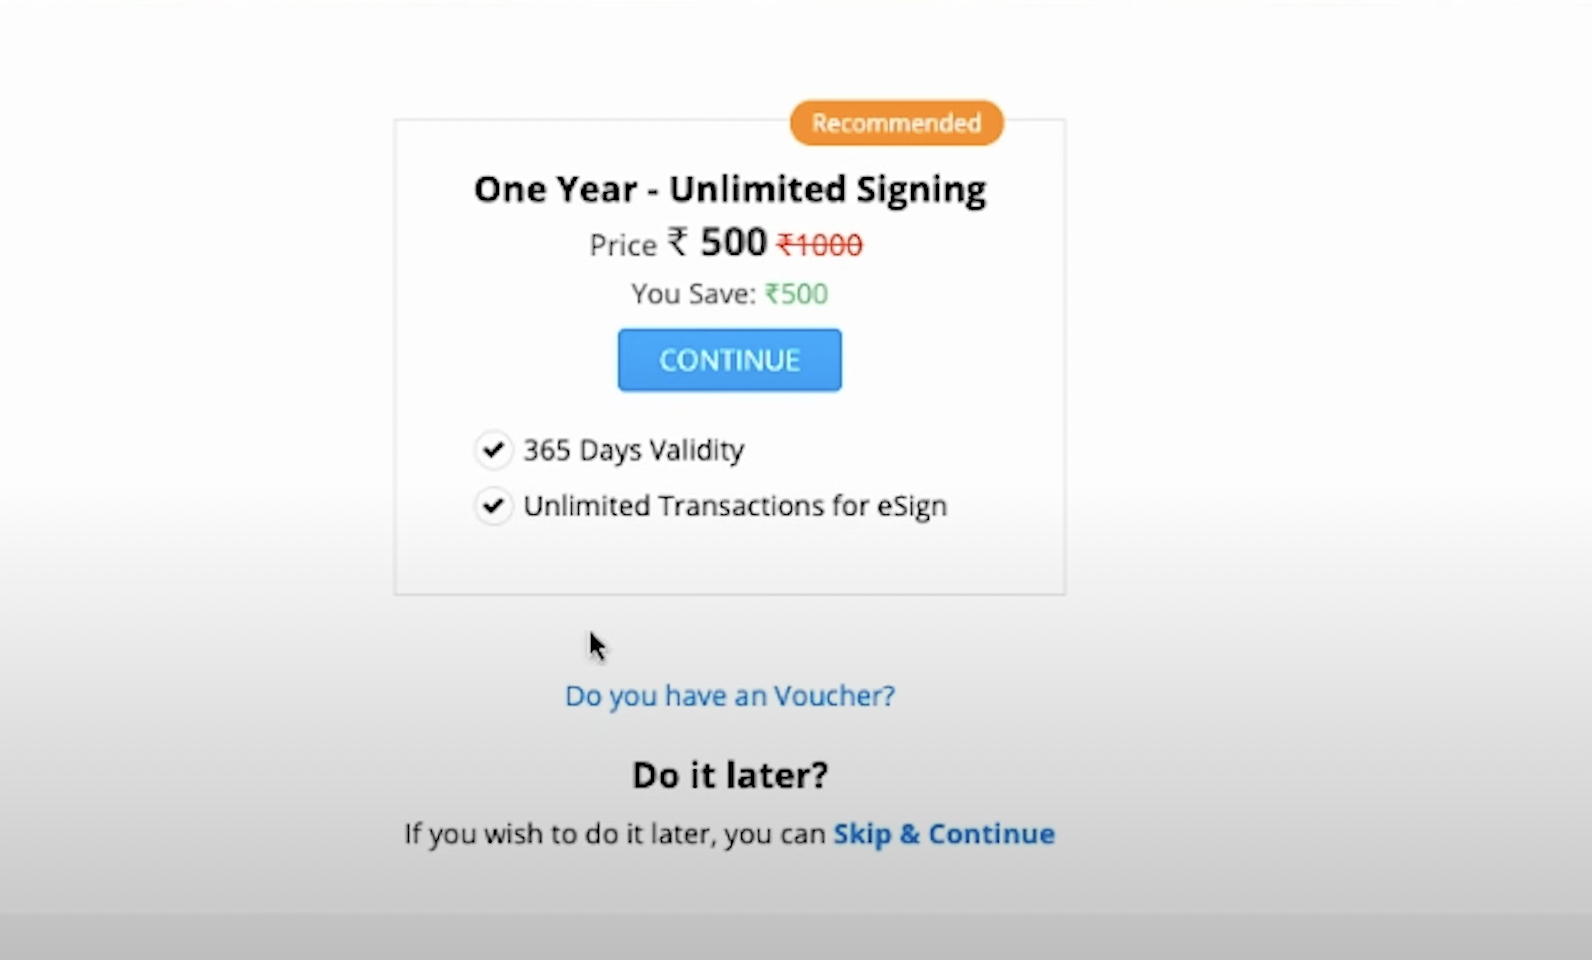
Scroll down, and click on “Skip & Continue” on the next screen (screenshot above).

On the next screen (screenshot above), choose the KYC Enrolment Method as “Using Aadhaar”.
Upload the Aadhaar XML file, and the Share Code for the Aadhaar XML file as set on the UIDAI webpage at the time of downloading the Aadhaar XML file. Note that you can upload the entire zip folder downloaded from the UIDAI website - there is no need to unzip the folder.
Enter the Mobile Number connected with the Aadhaar, your email ID, desired Username and PAN.
Click on “Save & Continue”.

On the next screen (screenshot above), click on “Record Video”.
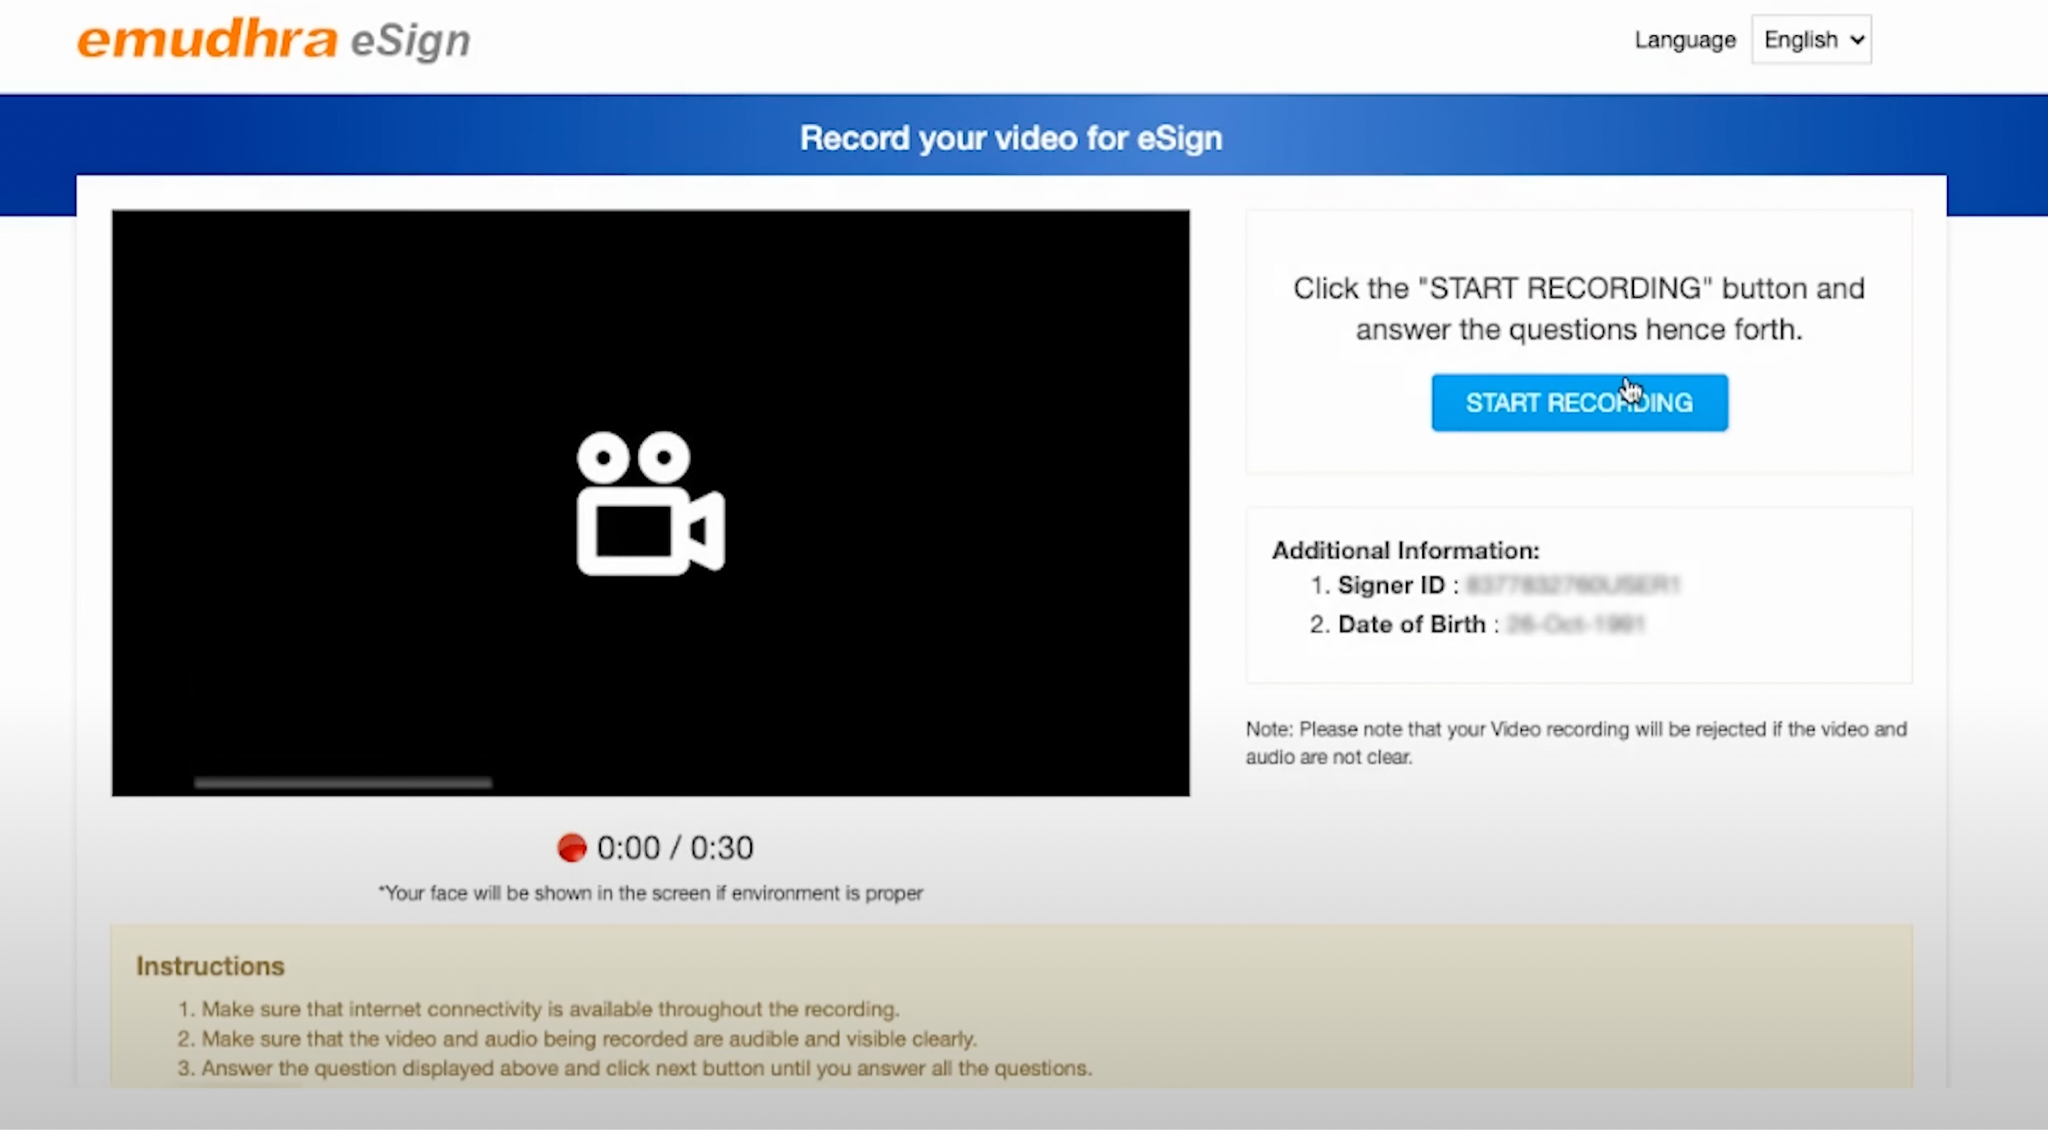
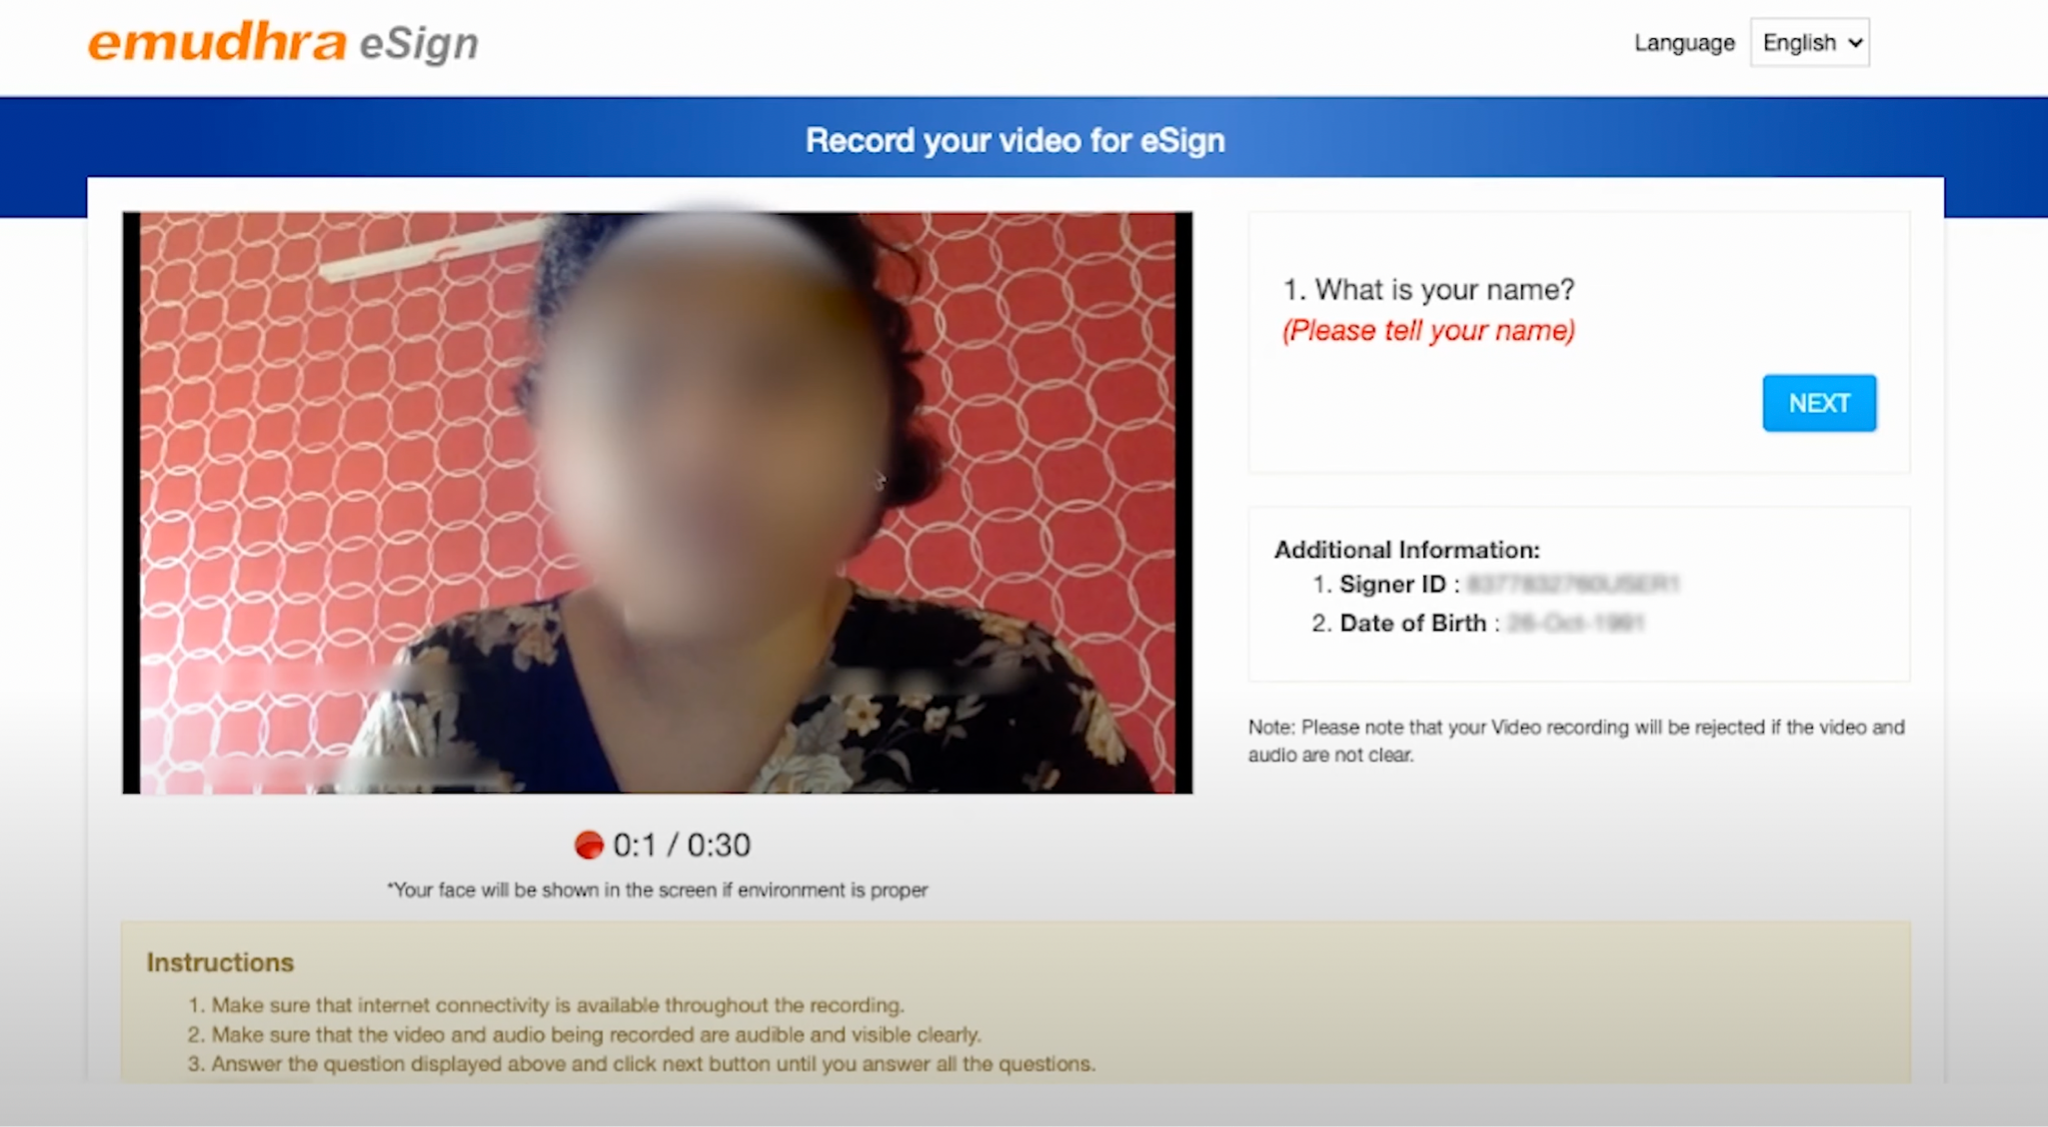
Read the Instructions carefully, and click on “Start Recording”.
Speak out responses to all the questions prompted on the screen out loud (see below).


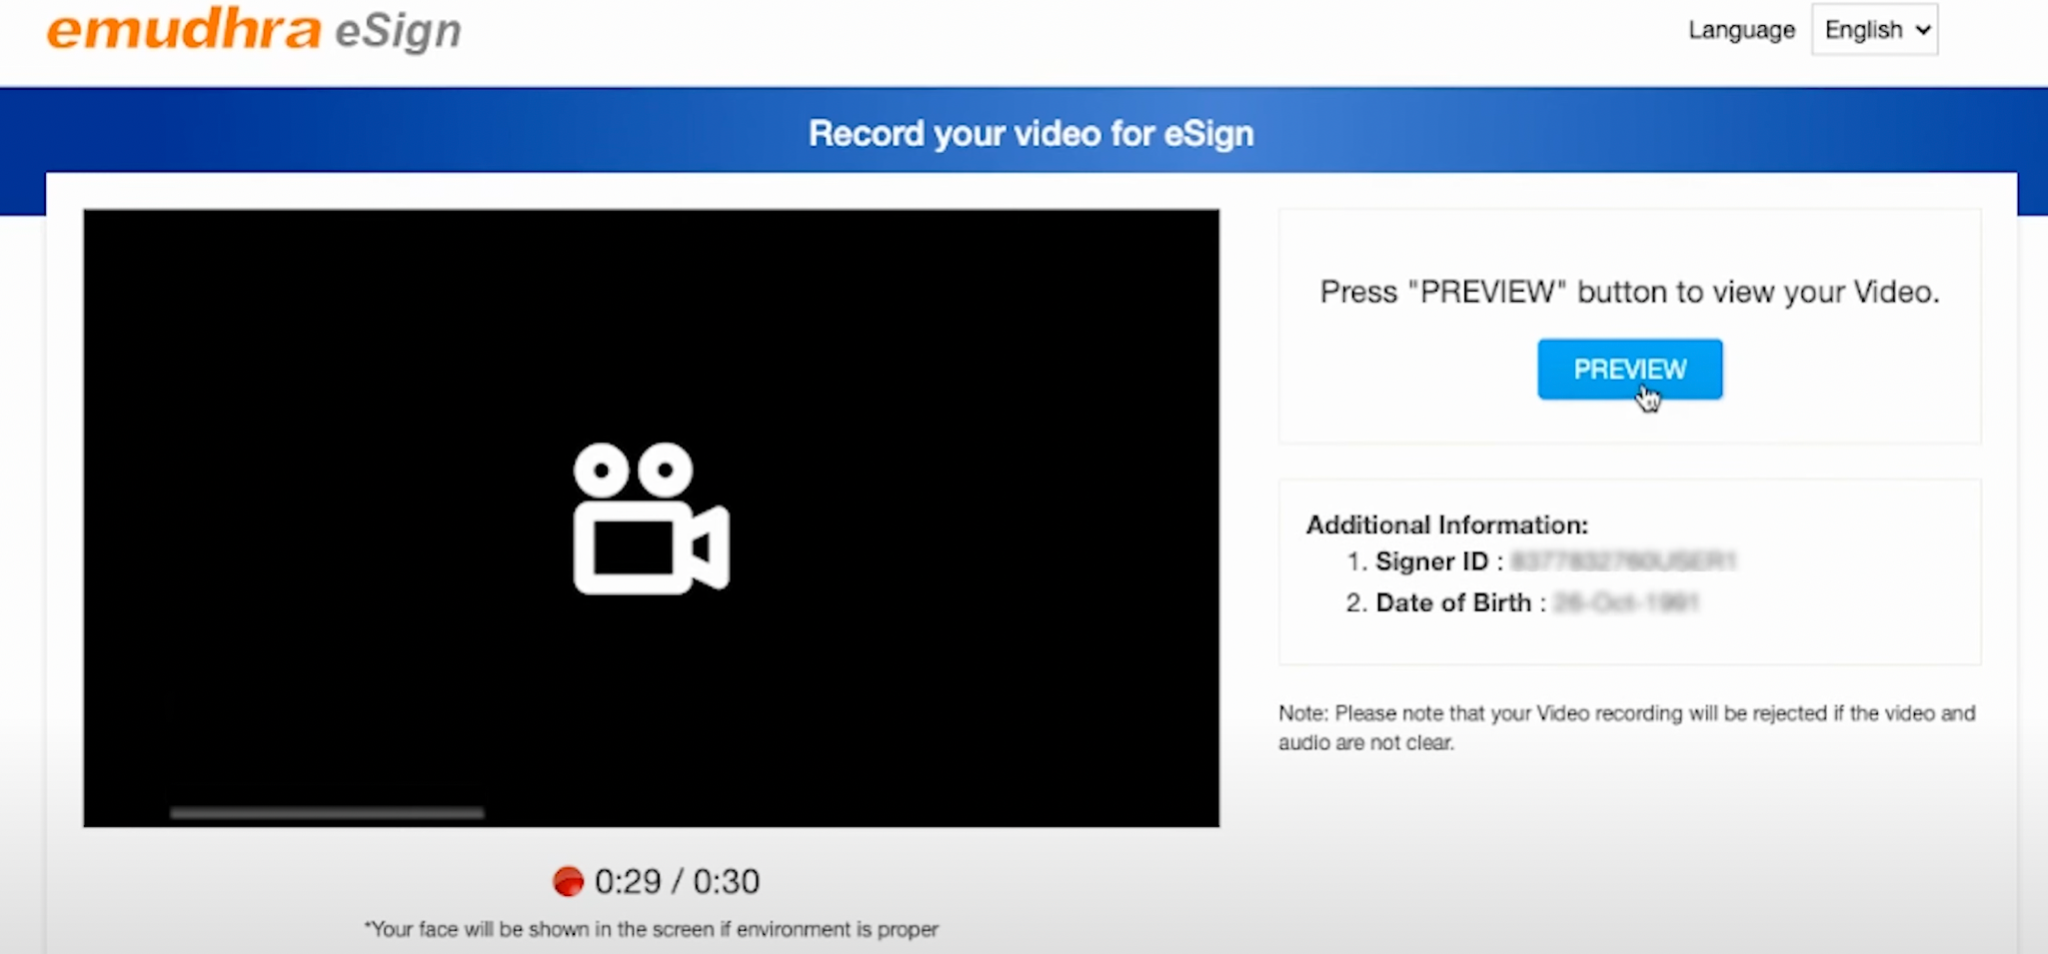
Click on “Stop Recording” after completing step 12, and thereafter click on “Preview”.

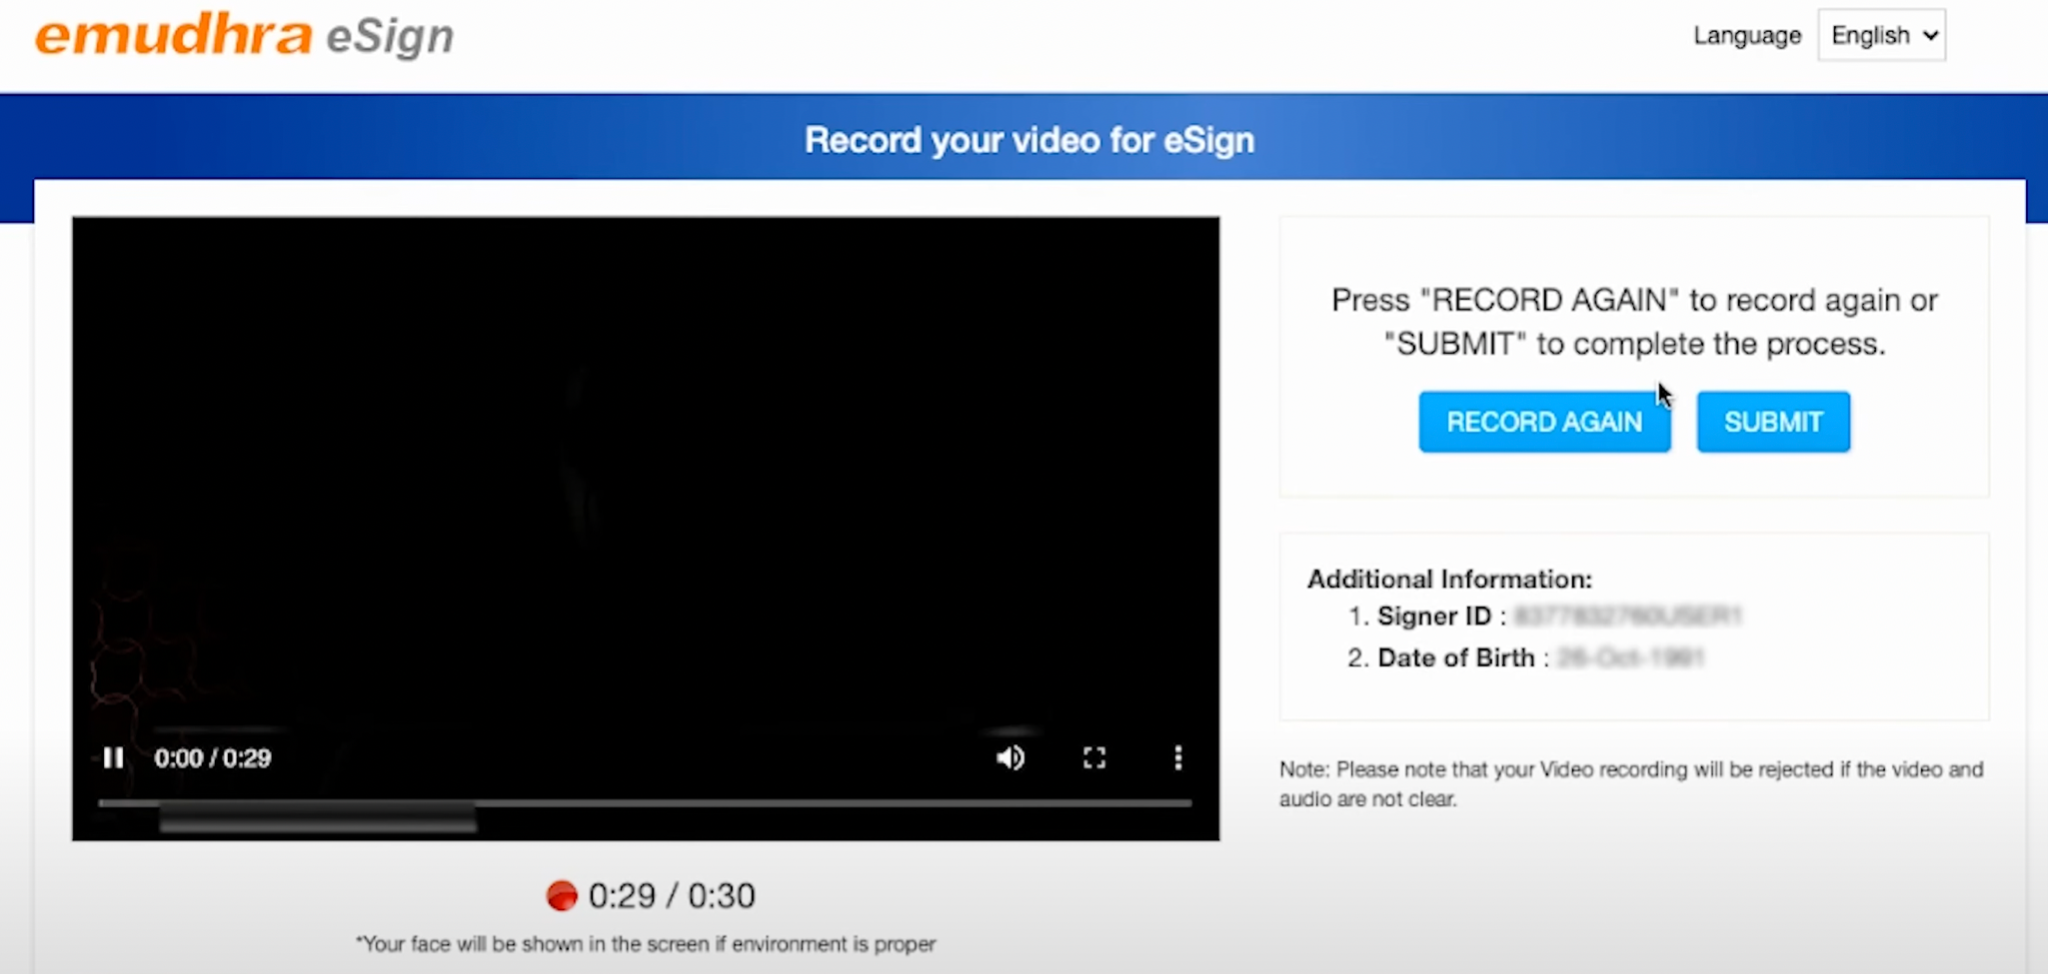
After previewing the video, click on “Submit” to complete video verification.
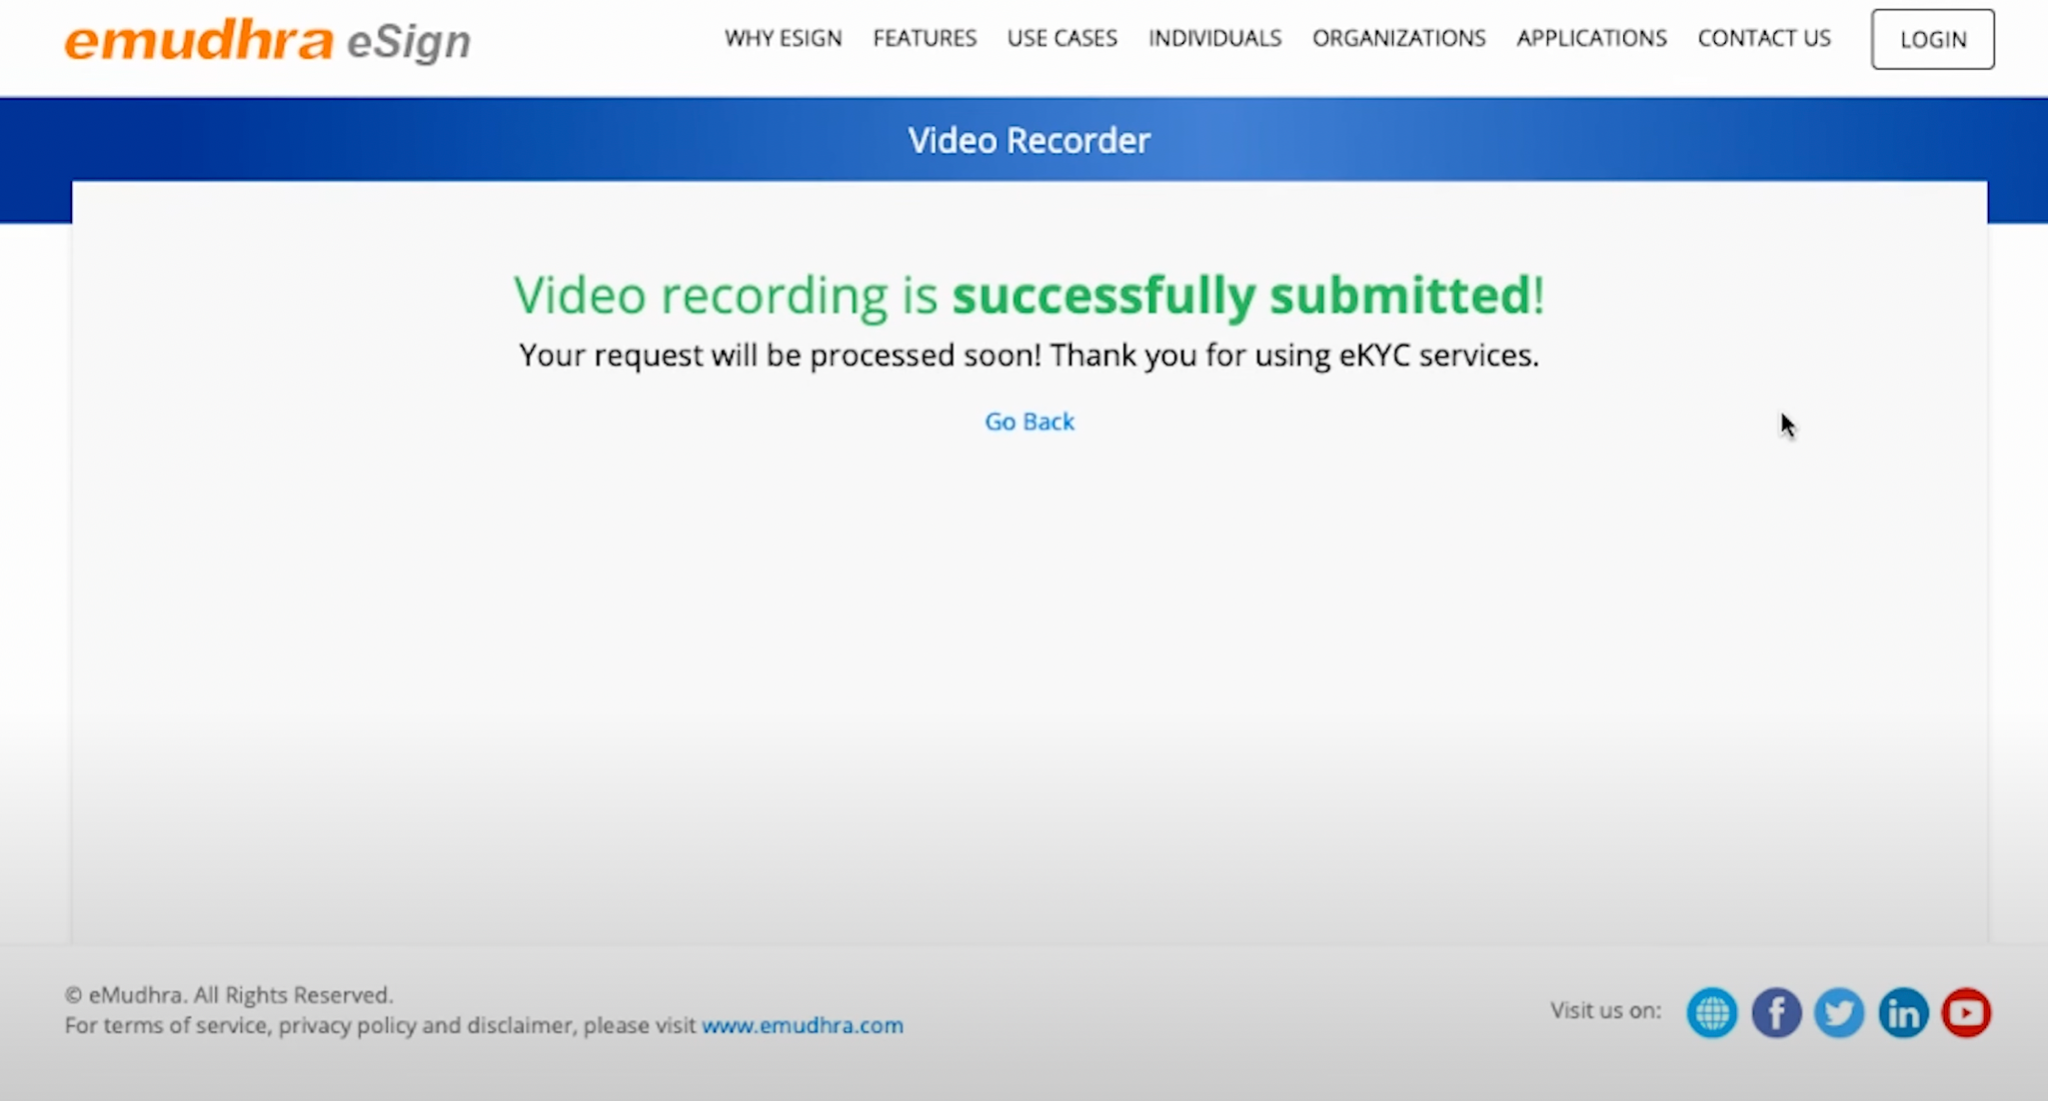
On successful submission, you will see a success message (see below). Video verification typically takes around 30 minutes, after which you would be ready to eSign using your SignerID.
Related Articles
Steps for Creating Signer ID using PAN
Visit https://esign.e-mudhra.com/UI/createNewUser.jsp Enter your Full Name, Mobile Number, Email ID, and a 6 digit PIN. Note the PIN in a secure manner, as it will be required at a later stage for using the SignerID. After entering the above details, ...Steps for Creating Signer ID using Aadhaar- Verasys
Step 1: Please click on the below link to create PAN based KYC account. Link: https://ca.vsign.in/applydsc?link=gkXzaPrYP8ZaaUJedrW-y3kxqJc7kOKFY0SOzP9Il8w= Step 2: Now click on PAN KYC button. Step 3: Fill all the appropriate details ...Steps for Creating Signer ID using PAN - Verasys
Step 1: Please click on the below link to create PAN based KYC account. Link: https://ekyc.vsign.in/ekycpanenrollmentpage Step 2: Please click on the check box to tick (I have read and understood and agree to the above.) Step 3: Fill all the ...Steps for Downloading Aadhaar XML
Step 1: Visit the webpage:https://myaadhaar.uidai.gov.in/offline-ekyc Step 2: On the webpage, click on “Login”. Step 3: Enter “Aadhaar Number” and the “CAPTCHA (Security Code)” visible on the screen and click on “Send OTP”. Step 4: Enter the OTP ...Fingerprint Capture - Aadhaar Esign
Leegality’s Aadhaar Signature type allows users to sign using their fingerprint via a registered biometric device connected to a Windows PC or Android Mobile phone. Steps to activate Aadhaar biometric sign type Step 1: Click on the “Account” option ...