Secure File Transfer Protocol - SFTP
SFTP, or Secure File Transfer Protocol, is a file transfer mechanism that uses secure shell encryption to provide a high level of security for sending and receiving file transfers. It builds on the File Transfer Protocol (FTP) and includes Secure Shell (SSH) security components.
SFTP transfers files securely using SSH and encrypted FTP commands to avoid password sniffing and exposing sensitive information in plain text. Since the client needs to be authenticated by the server, SFTP also protects against man-in-the-middle attacks.
Secure File Transfer Protocol helps in providing secure file access, file transfer, and file management of signed documents and audit trails.

Steps to activate SFTP
Steps to Add/Configure SFTP
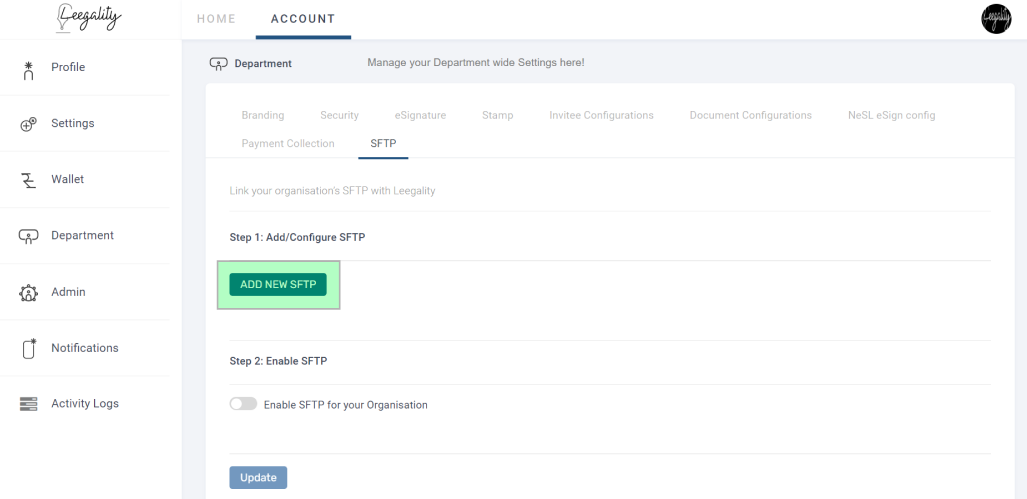
Step 2: Once clicked on the “Add New SFTP” a side window will appear for adding “SFTP Credentials”.
Input fields in SFTP Credentials

Once the input fields are filled and a user tries to save the SFTP, a test file is sent to the configured URL to check whether the connection is being established or not. If the test file is sent successfully, the SFTP profile is saved on the dashboard.

Note: A test file is sent when a user tries to add or edit an SFTP credential.
Test Connection Button: When a user clicks on the “Test Connection” button, Leegality’s server tries to reach the SFTP server (Using the inputs as configured). A test connection tries to verify if the credentials entered are correct or not. Based on the response, a success or failure message is displayed on the dashboard.Note: More than one SFTP profile can be configured by using the option “Add New SFTP” by entering the SFTP credentials.
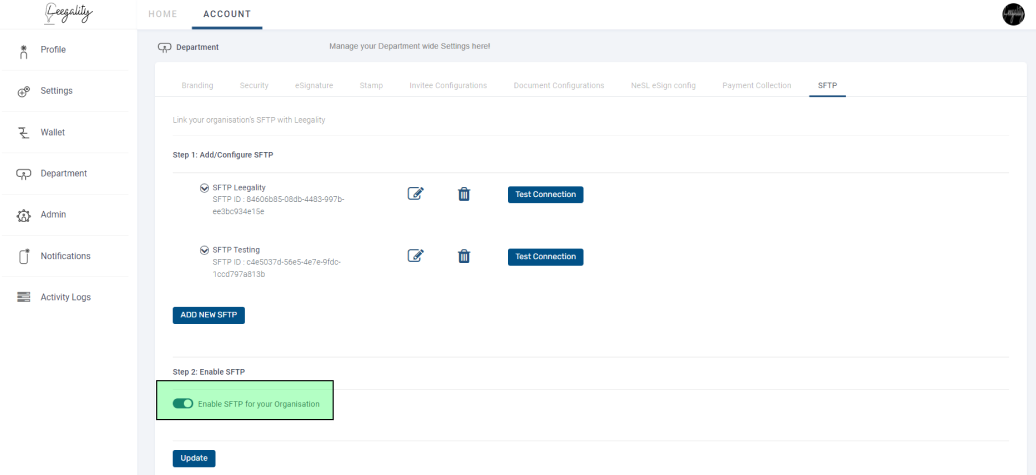
Step 3: Toggle on “Enable SFTP for your Organisation” and click on “Update”.
Configuring SFTP in the new document flow and workflow
Step 1: Once the document is created or while creating the workflow, on the invitee page click on “Signing journey options”.
Step 3: Choose an SFTP Profile from the drop-down.
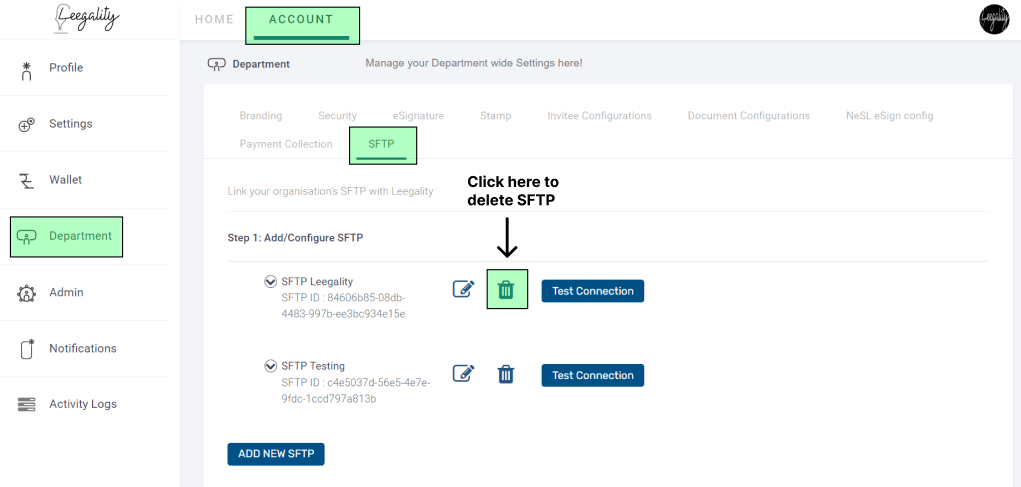
Steps to Delete/Edit SFTP Profile
Click on the “Account” option on the homepage, then go into the "Department" tab, and then click on the "SFTP".
Edit SFTP Profile
Once reached the SFTP page, click on the delete icon to delete the SFTP profile.

Editing SFTP Profile
SFTP credentials except the password can be edited through the "Edit SFTP Credentials" side window that appears by clicking on the edit icon.
Note: The input for ‘Password’ in SFTP credentials cannot be edited once configured. If an SFTP password is to be changed, please delete that SFTP profile and add a new SFTP Profile with the updated Password.
Delete SFTP Profile
Deleting SFTP Profile
Note: Without disabling the toggle for “Enable SFTP for your organisation”, all SFTP profiles cannot be deleted.
If SFTP is configured for a document, once all signatories sign the document, the completed document and audit trail will be transferred via SFTP as a single zip file. The transfer of this zip file is triggered within 15 mins upon document completion.
An email/SMS notification will be triggered if the transfer via SFTP fails.
Steps to Setup SFTP Failure Notification
To know the steps to add the contact to SFTP notifications, click here.
Note: No success notification will be triggered to the sender, but the file will be visible in the server configured by the sender.
Zip file: <IRN>_<Document ID>.zip
Signed Document: 1_<Document Name>.pdf
Audit Trail: 1_<Audit Trail>.pdf
Related Articles
Signing Journey Options
“Signing journey options” are to further modify the signing journey for all the invitees. By using “Signing journey options”, the sender of the document can: 1. Set the expiry of the document 2. Send a custom message with an invitation 3. Enclose the ...Steps for Creating Signer ID using Aadhaar XML
Visit https://esign.e-mudhra.com/UI/createNewUser.jsp Enter your Full Name, Mobile Number, Email ID, and a 6 digit PIN. Note the PIN in a secure manner, as it will be required at a later stage for using the SignerID. After entering the above details, ...Nesl Multi stamping
This feature helps the sender to affix multiple stamp papers to the documents signed via NeSL eSign. Steps to configure NeSL Multi Stamping Step 1: Configure at least one invitee with NeSL sign to use multiple stamp papers, and then click on ...Steps for Downloading Aadhaar XML
Step 1: Visit the webpage:https://myaadhaar.uidai.gov.in/offline-ekyc Step 2: On the webpage, click on “Login”. Step 3: Enter “Aadhaar Number” and the “CAPTCHA (Security Code)” visible on the screen and click on “Send OTP”. Step 4: Enter the OTP ...Installation Steps: Mantra MFS 100 Device
Leegality’s secure virtual sign supports fingerprint-based e-signing using the Mantra MFS 100 biometric device. In order to use the biometric device in the signing journey, you will need to connect the device to your computer/mobile and download ...