Invitee level options
“Invitee level options” provide various options to further modify the signing journey for the particular invitee.
By using “Invitee level options”, the sender of the document can set the retry attempts for Aadhaar signing, prioritize Aadhaar Esigning, restricting the signer from editing the name while signing, not showing the invitee's name in the signature, getting organizational or custom seal in the signature, and mandate the signer to upload the document while signing the document.

Note: This option has to be enabled for each invitee of the document
Once the document is created/workflow is created, on the invitee page click on “Invitee level options” which will lead to the side menu containing all the invitee level configurations.

Priortise Aadhaar For Invitee
 Note: If Aadhaar eSign is not selected as an eSign option, then the toggle will stay disabled and the sender will not be able to turn it on.
Define maximum signing attempts allowed(only for Aadhaar eSign)
Note: Attempts are counted If the smart name verification parameters are configured while sending the document and the verification parameters are mismatched or if the signer clicks on the cancel button while doing Aadhaar Esign transactions.Note: This option is only applicable for any Aadhaar Esign not any other types of Esigns.
Note: Retry attempts can not be set greater than 10.
Note: Signers can retry signing as many times as they like if no retry limit is set

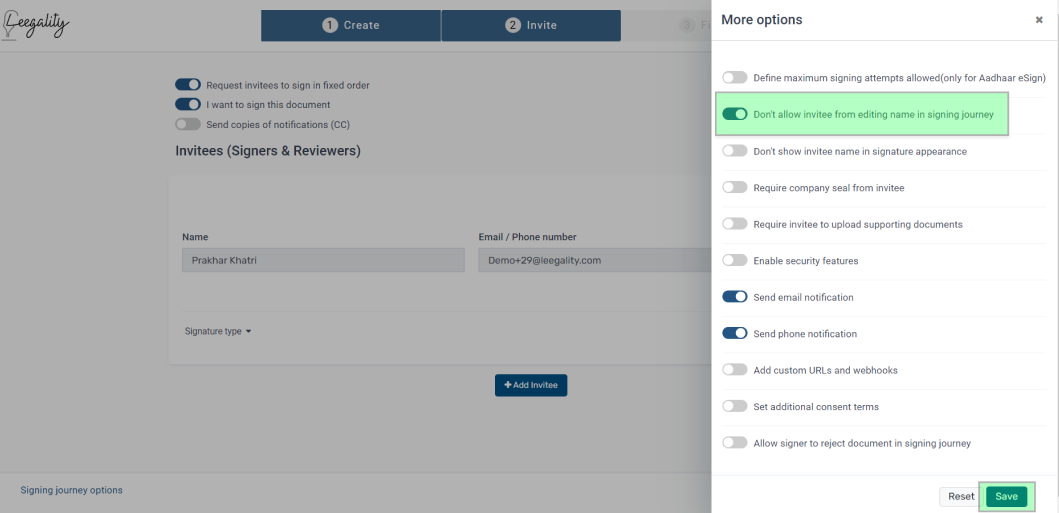
Don't allow invitee from editing name in signing journey
Enabling the option “Don't allow invitee from editing name in signing journey” restricts the invitee (signer/reviewer) from editing their name while signing the document.
Note: This feature cannot be enabled for Automated Esign and NeSL.
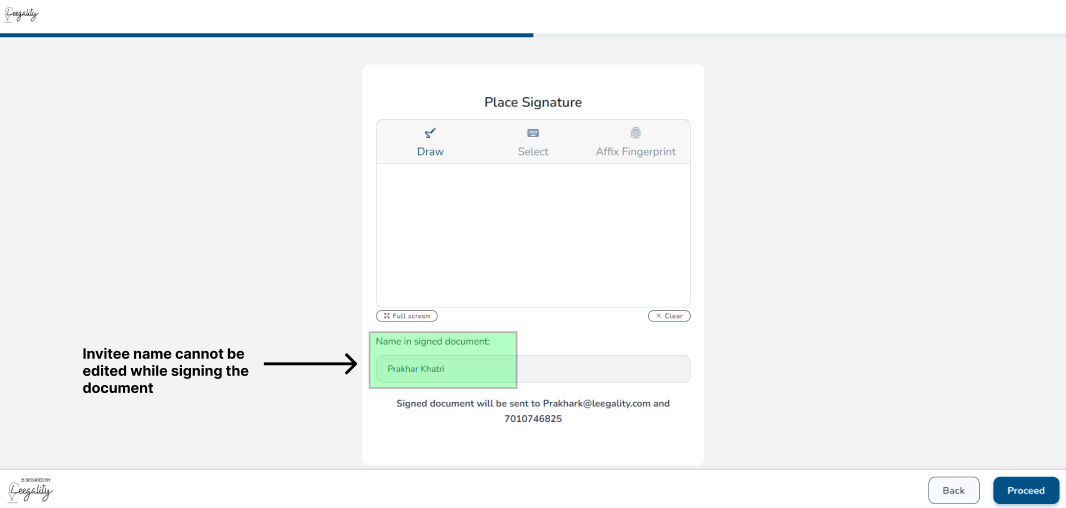
Note: In case this option is disabled the signer will be allowed to edit their name while signing the document.

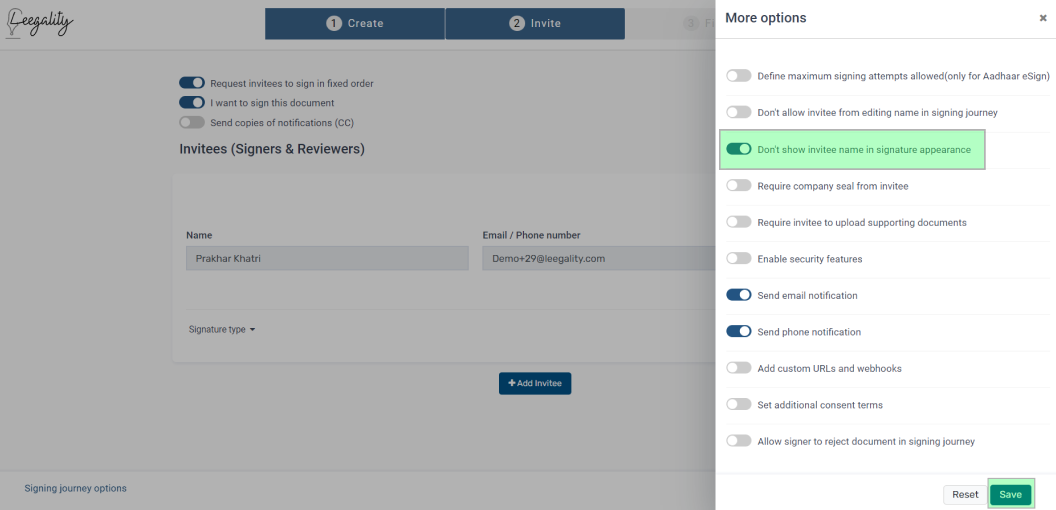
Don't show invitee name in signature appearance
By default, the signer’s name configured during the invite or entered by him during the signing journey is placed inside the signature box.

Note: This feature cannot be enabled for Automated Esign and NeSL.
Enabling the option “Don't show invitee name in signature appearance” removes the invitee's name from the signature box.

Invitee Name has not appeared in this signature
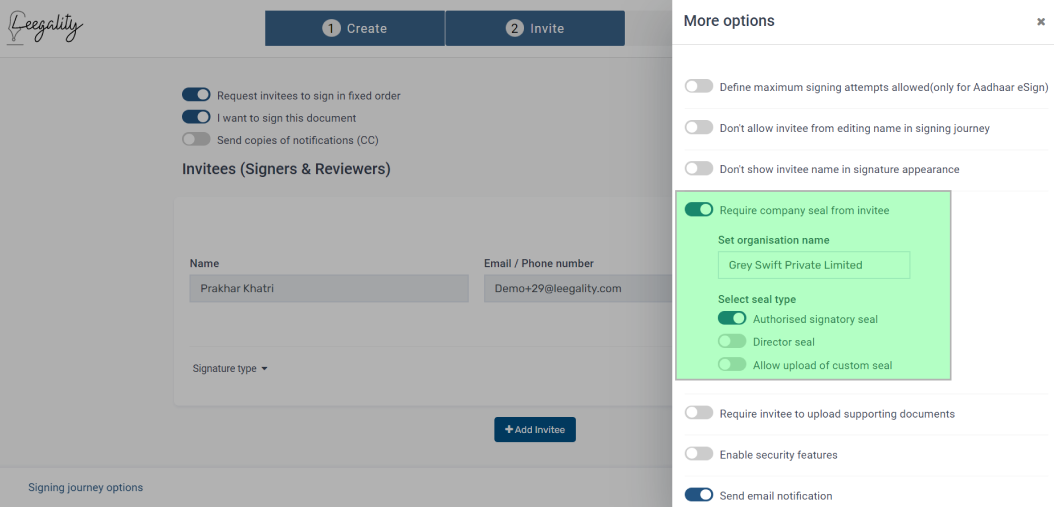
Require company seal from invitee
Enabling the option ”Require company seal from invitee” while sending the document to get an organizational signature. Leegality will create a digital impression of a rubber seal and apply it on the signature of the signer.
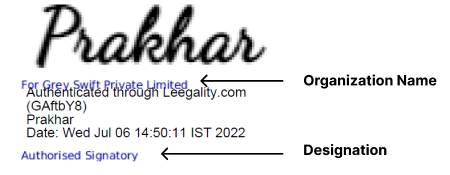
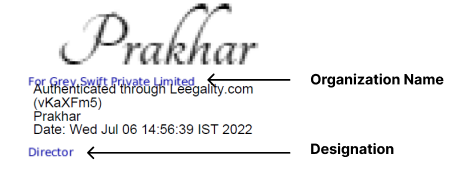
Three types of company seals can be configured:

Note: Only one type of seal can be configured.
Once the document is signed, the company seal surrounds the electronic signature.


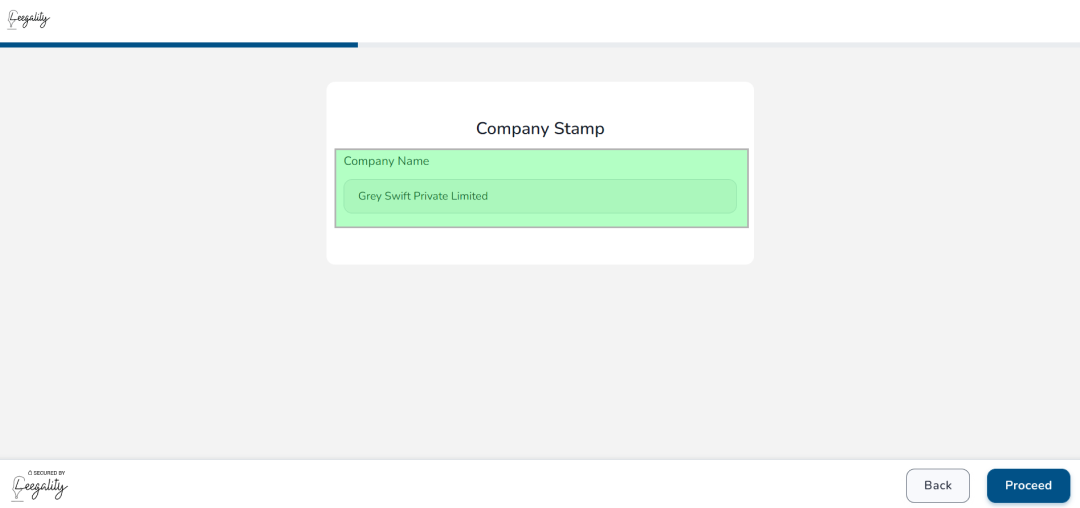
Note: If the option “Require company seal from invitee” is enabled but the organization name is not entered while sending the document, the signer can enter the company name and sign the document.


Require invitee to upload supporting documents
To read about the functionality of “Require invitee to upload supporting documents”, click here.
Enable security features
The option “Enable security features” provides additional authentications to make the signer identification more robust.

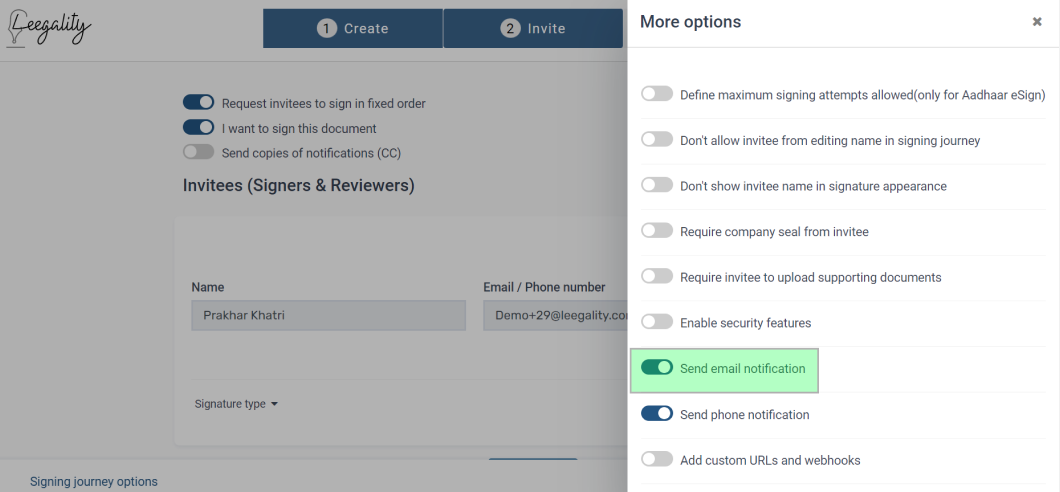
Send email notification
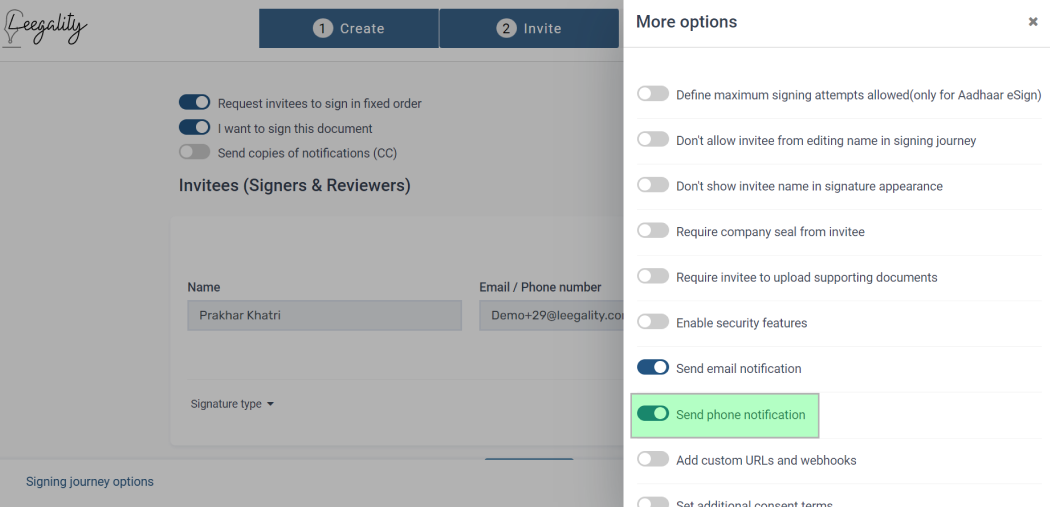
Send phone notification
Add custom URLs and webhooks
Enabling the option “Add custom URLs and webhooks” and enter the “Redirect URL” which will redirect the signer to the provided URL on completion/rejection of the transaction.

Enabling the option “Add custom URLs and webhooks” and enter the “webhook URL” (publically accessible URL to be used) which will provide the payload structure related to the document.
To know more about Webhook, click here.

Enabling the option “Add custom URLs and webhooks” and enter the “Error webhook URL” (publically accessible URL to be used) which will provide the payload structure related to the document in the three below cases:
If the Aadhaar Esign retry limit has been exhausted
If the Certificate details configured by the sender mismatch with the signer’s Certificate details.
If the invitation sent has Expired.

5. Webhook Version
There are four webhook versions that can be selected from the drop-down from the option “Webhook Version”.
Webhook 2.1 (This version is deprecated. Please use version 2.5)
Webhook 2.2 (This version is deprecated. Please use version 2.5)
Webhook 2.3 (This version is deprecated. Please use version 2.5)

Set additional consent terms
Enabling the feature “ Set additional consent terms” will help in adding custom consent which will be added in the signing journey along with the default Leegality consent which can contain further Specific consent requirements to be agreed upon.

Note: Leegality default and custom consent both have to be agreed to proceed with the signing of the document.
Note: The character limit for entering custom consent is 1000.Related Articles
Group Invitee
Group Invitee allows the sender to send signing invites to a group of authorized signatories. Using this feature, anyone or all signers in one group can sign the document, thus, reducing the dependency on a single signer. Activating the Group Invitee ...Invitee Rejection
This feature allows the signer to reject the document while viewing the document for signing. Activating Invitee Rejection functionality Step 1: Click on the “Account” option then go into the ‘Department’ tab and then click on the ‘Invitee ...Signing Journey Options
“Signing journey options” are to further modify the signing journey for all the invitees. By using “Signing journey options”, the sender of the document can: 1. Set the expiry of the document 2. Send a custom message with an invitation 3. Enclose the ...WhatsApp Invitations and Notifications
In addition to SMS and Emails, communications can be sent to the invitees via WhatsApp messages as well. WhatsApp provides a better experience and robust delivery. WhatsApp can be activated for the invitees with their phone numbers. Once activated ...Formatting Options
Formatting Options allow users to quickly format different parts of the document (headings, subheadings, lists, normal text, quotes) instead of applying several formatting options individually each time. Formatting options in the Leegality template ...